History:
V. 0.1 First document, used pictures from past projects
V. 0.5 Exact same thing except added history and thanks and new pictures for almost every step
V 0.7 Fixed grammatical errors and changed it to html format. Also reedited the pictures (barely different)
V 0.9 Added some notes written by Psyberjock
Equipment:
- LED rated at 3 volts of any colorDrillSoldering IronSolder2 wires three plus inches longPhillips head screw driverVMU
- Needle Nose Pliers
Disclaimer:
I am not responsible of what you do with these directions, nor responsible for what it can do to your dreamcast, vmu, or anything else that is in your possession.
Directions:
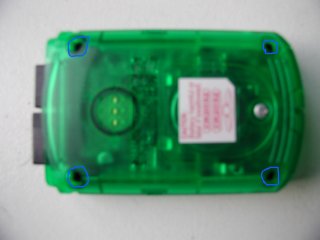
1) Turn your VMU over and remove the 4 screws on the back and take of the back, make sure you unhook the speaker (don't worry, it'll stick again)
2) Unscrew the screws holding down the battery contacts (the things were the battery touches to transmit the power)
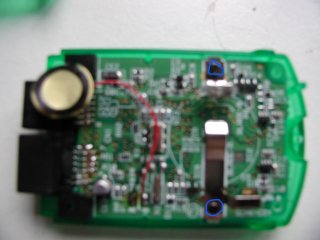
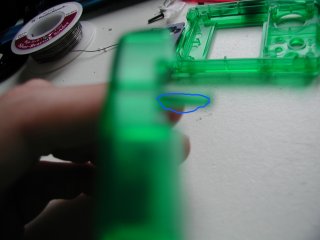
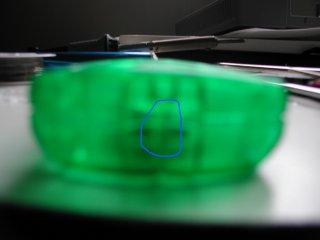
3) Remove the board, the buttons, and the lcd screen. Make sure everything is taken out before continuing. 4) Take the 2 outer casings apart. Find the area where the buttons should be. move the side with buttons toward (the buttons should be taken out they, I mean the holes) yourself. break the peg there (see 1st picture following this) Put the casing together, make sure you screw it together in at least 2 spots. Now drill a hole with a small bit just large enough for your led to fit right where the peg used to be. (2nd picture following this, note that the peg will not be there because you just removed it.)
5) Take the board and use pliers to break off some of the board, right where you want your led to sit.
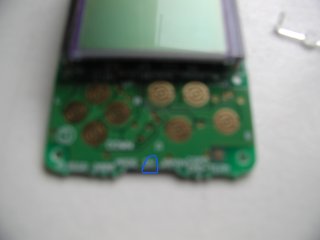
6) Take your wires and solder them to your led. Then test your led. 7) Take the negative wire and solder it to the main board at pin #7.*

8) Take the positive wire and solder it to the main board at pin #1.
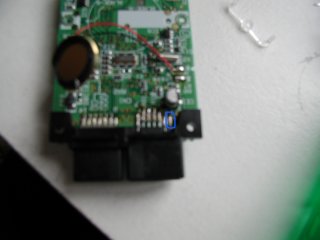
9) Put the buttons back and the lcd. Now set the board the correct way on top of the lcd. Put your led in the hole cut into the main board, and the area you drilled out of the casing.
10) Close it up and test it! Notes:
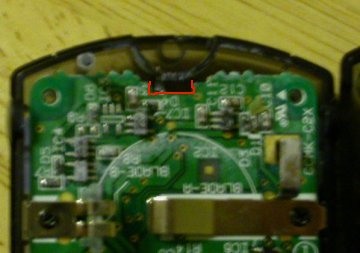
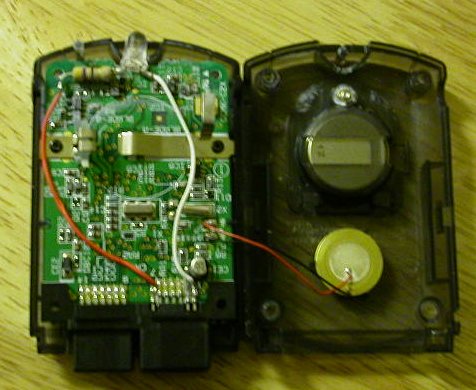
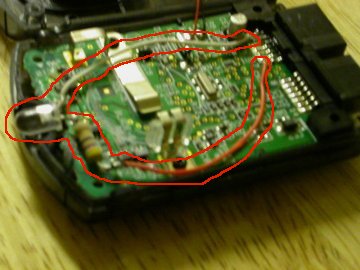
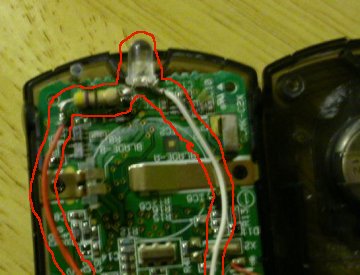
* After figuring out that the LED drained too much power from the memory card to complete a save I had to install a resistor. In some pictures I circled the things I added to the VMU in red because it all tends to look like the same stuff in a picture. In one picture I outlined the way I shaved the circuit board with a pocketknife to snuggly hold an LED. This picture also helps to distinguish between what I added in and what was already on the VMU board. The resistor was the smallest I could find. 47 ohms, 1/2 watt, and 5% resistence, purchased from Radio Shack in a five pack 49 or 99 cents I think. I soldered it to the LED on one end and to the negative wire on the other end. Beneath the area where the LED and resistor would be sitting I covered the area with Super Glue, which is a great insulator. I shaved the plastic to make the hole for the LED with my pocket knife and shaved the bottom of the 'battery compartment screw hole' down to the metal threads to allow more room for the LED and resistor. Attach in the normal fashion and voila! A bright VMU LED that allows you to save. Note, resistor and super glue are very important in my methodology. Without the superglue, the LED touches too many contacts and causes problems, without the resistor, there is not enough power to run the screen, LED, and the memory all at the same time.
Thanks:
TheDumbAss - Who provided most, if not all information. Psyberjock - Came up with the resistor to fix his problems.
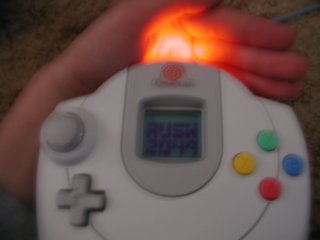
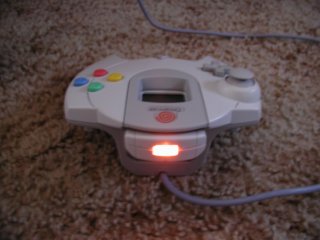
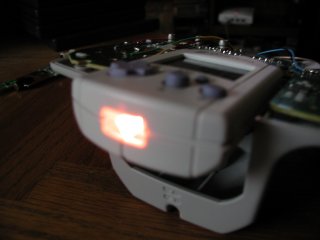
Here are some final pictures!
|
