History:
V. 0.5 First Public Version. What this does: If a controller doesn't work in any port, then your resistor may have blown. It's a safety system put in by Sega so you don't overload your controller port. This resistor acts very close to a fuse, whenever too much current goes through, the resistor "blows", causing your controllers not to work. You could consider this a design flaw, as it can happen when you are use your Dreamcast normally.
Equipment:
- 10 ohm or less resistor
- Soldering Iron
- Solder
- Pliers or a desoldering too
- lPhillips head screw driver
- Dreamcast Console
- Wire Clippers or scissors
* There is a somewhat fire hazard with these resistors. It took about 5 months or so for my resistor to stop working. If you ever notice a weird smell, or your Dreamcast shutting itself off after a few seconds turn of your Dreamcast, and check the resistor for damage. I have not tried these myself, but people in the hardware forum have suggested these kind of resistors: http://www.mouser.com/index.cfm?handler=productsearch._listproductsearch&criteria=650-RXE017&searchby=partnumber&partnumberprecision=exact
You must note that these are untested, but if someone tries them, please inform me and how they work out. Disclaimer: I am not responsible of what you do with these directions, nor responsible for what it can do to your dreamcast, controllers, or anything else that is in your possession
Directions:
1) Remove any wires attached to your Dreamcast, and also remove any CD in your Dreamcast
2) Turn your Dreamcast over and remove the modem.
3) Unscrew the four screws holding the case together
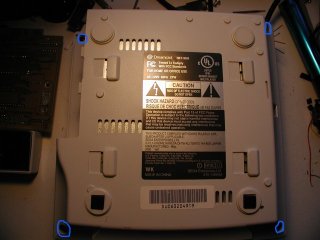
4) Flip your Dreamcast over, and lift of the top. Remove the four screws holding down the controller board.
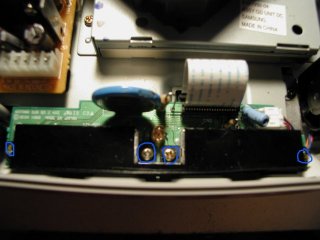
5) Remove the fan and controller board connector. Use can use your pliers to slowly and carefully remove the controller board connector.
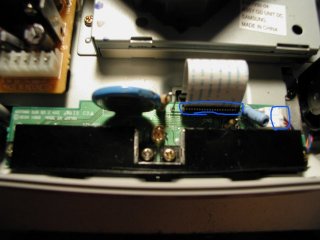
6) Take your controller board and flip it over. There are to ways to remove the old resistor. I prefer method A.
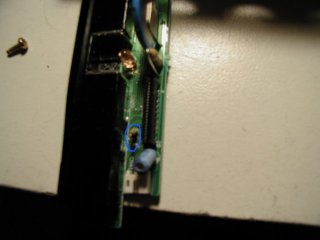
6a) Take your desoldering tool and remove the solder at the two points shown in the picture. Once the solder is remove you can pull at the old resistor.
6b) Heat one point at a time shown in the picture and use your pliers to pull on the same wire you are heating. It should come right through. Now do it to the other point in the picture.
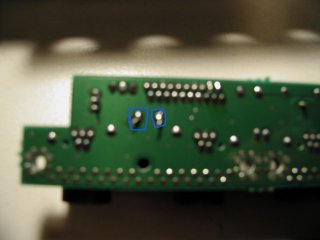 7) Now place your new resistor into the holes. Solder them into place.
8) Take your scissors or wire cutters and cut off the extra wire sticking from the soldering point.
9) Screw everything back in place, making sure to hook the fan and controller wires back into place.
10) Put back your modem and test it out!
Here is a picture of the new resistor installed:
|
