WARNING: Doing this mod can wreck your controller ports. It involves putting holes in the ports and if not done correctly it can crush the pins making the port inoperable.
Need:
Hammer
Pin / Needle
4 LED's
Wire
Soldering Iron
Drill
Electrical Tape
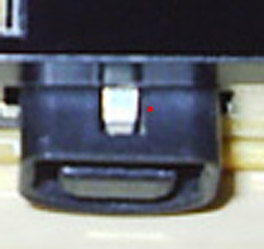
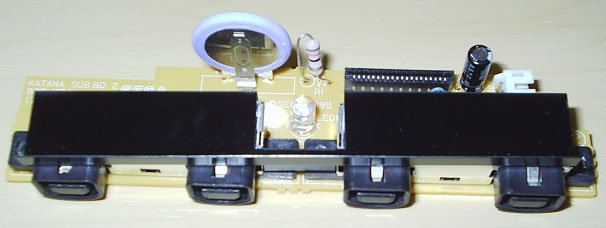
Remove the controller board from, the dreamcast as well as the grey plastic board at the front of it. Put the board on something soft-ish, like a magazine or a newspaper. You need to put a small hole in each of the ports. This hole only needs to be very small, use the pin and hammer to make the hole. When hammering the pin into the port make sure you don't use very powerful blows cos if you make the pin go down too far you could crush the pin underneath. So just use light taps with the hammer, the plastic isn't strong and it will only take a few light hit for the pin to get through, once the pin is through remove it, using a pair of pliers makes this a lot easier than using your hands. The hold needs to be about 1-2mm to the left or right of the centre hole already their. In this hole we are going to put a piece of wire. You get a better idea of where the hole should be from the picture below. The red dot indicates roughtly where the hole should be.
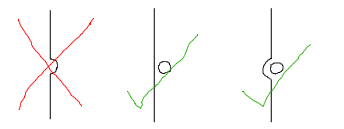
You need to make sure there is a strip of plastic between the hole you've just made and the centre hole already there. The picture below shows this better. If their isn't a bit of plastic between, the light could always be on, but if the hole is too far away from the centre it light may never come on. If you get the distance wrong and stuff the hole up don't worry cos you can just make another hole on the other side or one above or below the one you stuffed up. A good trick to make sure the pin doesn't go down too far is to wrap a good few layers of electrical tape around the pin, making sure that just enough of the pin is exposed to go through the port. This makes it so when the pin is being hammered into the port, it will stop going down once the electrical tape hits the port.
Now that the hole is done, it clean sailing from now on. Take some wire and strip about 3-4mm off the end. Using the pin the make the hole makes sure that only the striped part of the wire will fit in it. Bend the stripped part in a 90 degree angle, and place it in the hole, if the stripped part is too long it will touch the bottom of the port, we don't want this. So just take it out and cut a bit off, you need it so it just doesn't touch the bottom. Tape the wire to the top of the controller port. Then put a controller into that port, this will bend the wire back and make it rest on the under side of the port. You should be able to see that when the controller goes into the port, the metal plate on the top of the controllers plug will scrap against this wire, if the wire is too far away, you need to put in another hole closer to the plate.

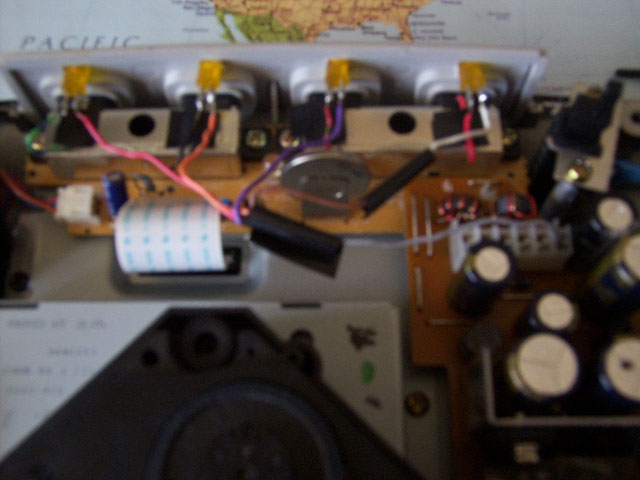
Now grab the grey plastic plate and drill holes where you see the A, B, C and D above each port. The hole needs to be big enough for and LED to fit nicely in. Drill from the outside part so that it bends all the plastic into the inside, the part you don't see. This gives it a bit better look. To keep the LED in the hole I put less than a drop of superglue into the hole and then put the led in.
At this sage I would put your DC back together, just leaving the lid off. No only does it make it easier to solder but it's a pain to get the grey plate and the controller board back in when their pretty much stuck together.
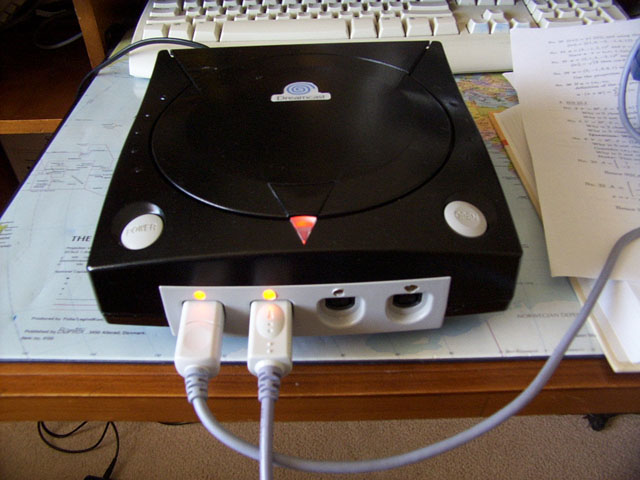
Now that all this is done, you're basically finished. All you need to do is solder all the power pins on the LED's together using a parallel circuit (So you don't get a drop of voltage) and put them going to the 3v pin the PSU, this pin is one of the 6 pins that goes to the main board, the 3v pin is the pin furthest from the controller board and is outlined in the picture below.

Now solder each of the ground wires (the ones that are in the hole we made in the port) to the ground pin on the LED. When you put it back together you will find the power light shines through the led's and makes it look like they are on. To stop this put electrical tape around the clear platsic thing on the lid that goes around the light. It will stop the light shining out but keep it shing up.
For more infomation read the original topic at:: http://www.dcemulation.org/phpBB/viewtopic.php?t=46242&highlight=
|
